As a Roblox game developer, selling additional features or items is one of the most effective ways to earn Robux. The platform offers two primary monetization options: Game Passes (one-time purchases) and Developer Products (repeatable purchases). This guide focuses exclusively on creating Game Passes—permanent privileges that players purchase once and keep forever.
What Are Game Passes?
Game Passes (also called “passes” or “privilege tickets”) grant players permanent access to special features or items after a single purchase. Common examples include:
- 2x movement speed
- Double currency or XP boosts
- VIP membership status
- Exclusive areas or abilities
Important limitation: Players can only purchase each Game Pass once. If you want players to buy something multiple times, you need to create Developer Products instead.
Step 1: Access the Create Page
- Navigate to the Roblox Creator Dashboard
- Locate the game where you want to add a Game Pass
- Click the gear icon on the right side of your game
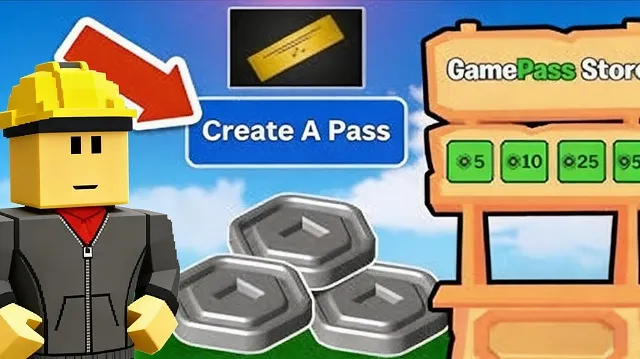
- Select “Create Pass” from the dropdown menu
[Image: Roblox Creator Dashboard with gear icon menu highlighted]
Step 2: Create Your Game Pass
On the creation page, you’ll see three main components:
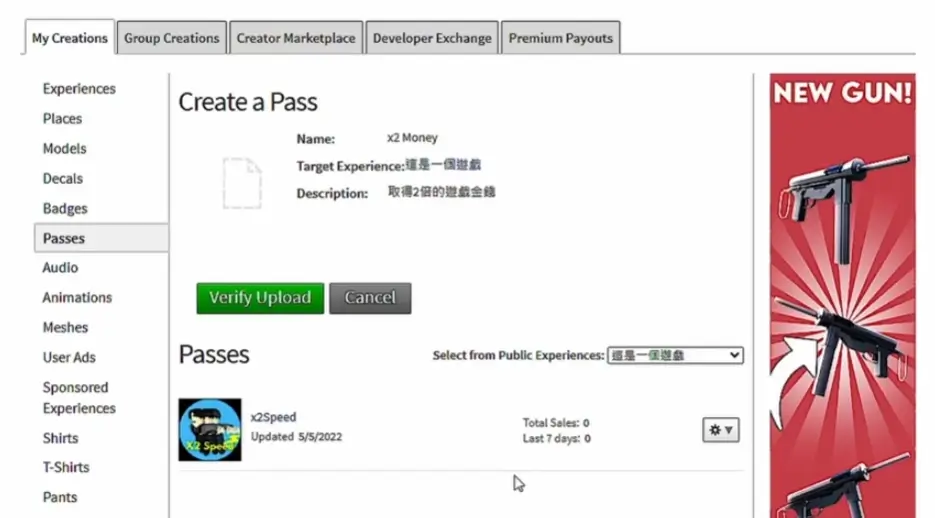
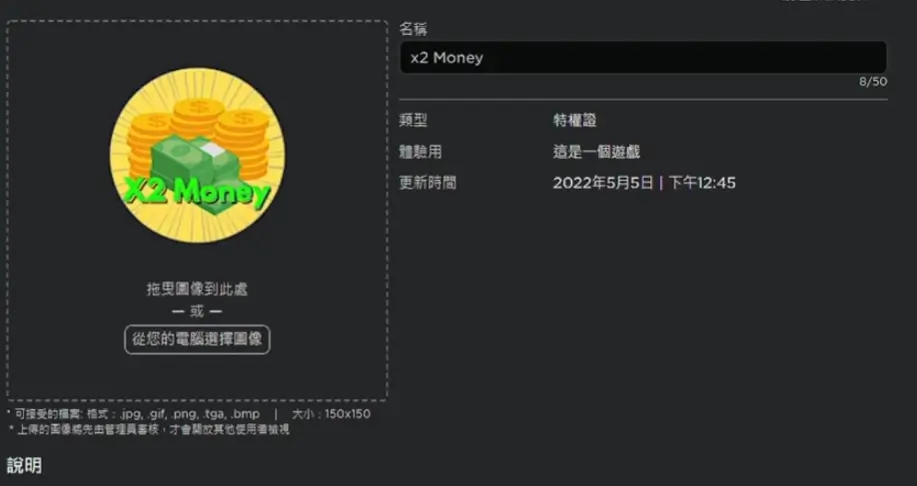
Upload Your Game Pass Image
- Click the upload area to select your image file
- Recommended size: 512×512 pixels (despite the page showing 150×150)
- Important: The display shape is circular—content outside the circle will be cropped
Set Your Game Pass Name
- Choose a clear, descriptive name that explains the benefit
- Examples: “2x Speed Boost,” “VIP Membership,” “Exclusive Avatar Pack”
Write a Description
- Clearly explain what the player receives
- List all benefits and features
- Keep it concise but informative
[Image: Game Pass creation form showing upload area, name field, and description box]
Once completed, click the green “Preview” button. Roblox will ask you to verify your information. Note: All images go through Roblox’s moderation system, and inappropriate content may result in warnings or removal.
After verification, click “Verify Upload” to complete the creation. Your new Game Pass will now appear in the “Passes” section at the bottom of the page.
Step 3: Configure Your Game Pass Settings
To modify your Game Pass after creation:
- Click the gear icon next to your pass in the “Passes” section
- Select “Configure”
- You’ll enter the Pass Configuration page where you can:
- Update the name, image, or description
- Adjust settings
Image Tip: For a tutorial on creating professional Game Pass images, you can find dedicated graphic design guides online that cover circular composition and branding.
Remember: Always click “Save” in the bottom-right corner after making changes.
Step 4: Enable Sales and Set Pricing
- In the Configuration page, click the “Sales” tab on the left
- Toggle “Item for Sale” to enable it
- Set your price in Robux
Understanding Roblox Commission: Roblox takes a 30% commission on all sales. If you set a price of 100 Robux, you’ll receive 70 Robux per sale. This is standard across the platform and applies to all developer monetization.
[Image: Sales configuration tab showing price setting and commission notice]
- Click “Save” to activate your Game Pass
Your Game Pass is now live and available for players to purchase!
Important Considerations
- Testing: Always test purchases in Studio’s test mode before going live
- Pricing Strategy: Research similar games to price competitively
- Value Proposition: Ensure your Game Pass offers clear, meaningful benefits
- Updates: You can edit Game Pass details anytime, but existing owners will receive the updates automatically
Final Thoughts
Creating Game Passes is straightforward, but designing ones that players actually want requires understanding your game’s economy and player motivations. Focus on enhancements that improve the experience without creating pay-to-win scenarios that could alienate free players.
For implementing actual functionality—making that “2x Speed Boost” actually work in your game—you’ll need to script the effects using Roblox’s API. That process involves checking player ownership and applying the appropriate modifiers, which deserves its own dedicated tutorial.