Bringing characters to life with smooth animations is a game-changer for Roblox experiences—from Obbies and roleplay to action-packed adventures. Roblox offers three main tools: the built-in Animation Editor (free, beginner-friendly), Moon Animator 2 plugin (advanced posing), and Blender (pro-level external modeling). This guide focuses on the Animation Editor to craft a simple Wave animation on an R15 rig—updated for 2026 with tips on keyframes, priorities, and export.
No prior experience needed! By the end, you’ll upload your animation and get its ID for scripting.
R15 vs. R6: Choose Your Rig Wisely
Roblox avatars use R6 (6 body parts, blocky/classic) or R15 (15 parts, realistic joints). Animations are NOT compatible—R6 won’t play on R15!
| Feature | R6 | R15 |
|---|---|---|
| Joints | 6 (simple, cartoony) | 15 (elbows, knees bend naturally) |
| Best For | Retro/competitive games (faster perf) | Modern/realistic animations |
| Animation Complexity | Easy, limited motion | Detailed, fluid |
Pro Tip: Use R15 for most projects—it’s the default and supports layered clothing.
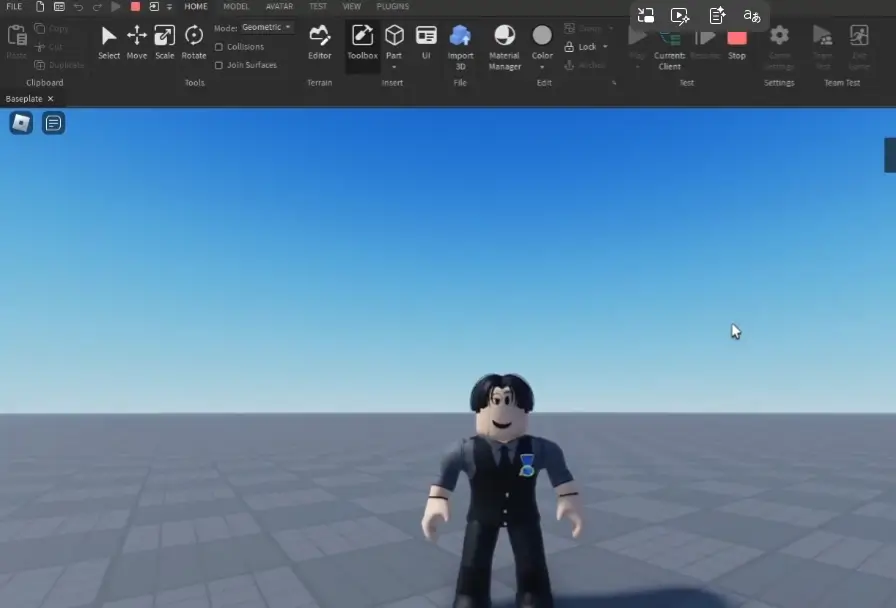
Step 1: Setup – Create a Dummy Rig
- Open Roblox Studio > New > Baseplate.
- Avatar tab (top toolbar) > Rig Builder (or Plugins if hidden).
- Select R15 > Choose a blocky rig (e.g., “Blocky”) > Create. A Dummy appears in Workspace.
Step 2: Launch Animation Editor & Start Your Animation
- Avatar tab > Animation Editor (docks bottom).
- Select Dummy > Name: “Wave” > Create.
Step 3: Master the Interface
| Section | Purpose |
|---|---|
| Track List (Left-bottom) | Lists body parts (15 for R15). Click + > Add All Body to expand. View/edit Position/Rotation. |
| Timeline (Right-main) | Frames (default 30 FPS). Drag blue line or click times. Right-click > Add Keyframe Here. |
| Playback Controls (Left-top) | ⏮️/⏭️ (first/last frame), ⏪/⏩ (prev/next keyframe), ⏯️ (play/pause), 🔄 (loop). Spacebar = Play. |
| Settings (Gear, top-right) | FPS (30 default; up to 60+ for smooth), Timeline Unit (Seconds/Frames), Playback Speed. |
Keyframes (diamonds): Pose snapshots. Editor interpolates between them for motion.
Step 4: Animate the Wave – Hands-On Keyframes
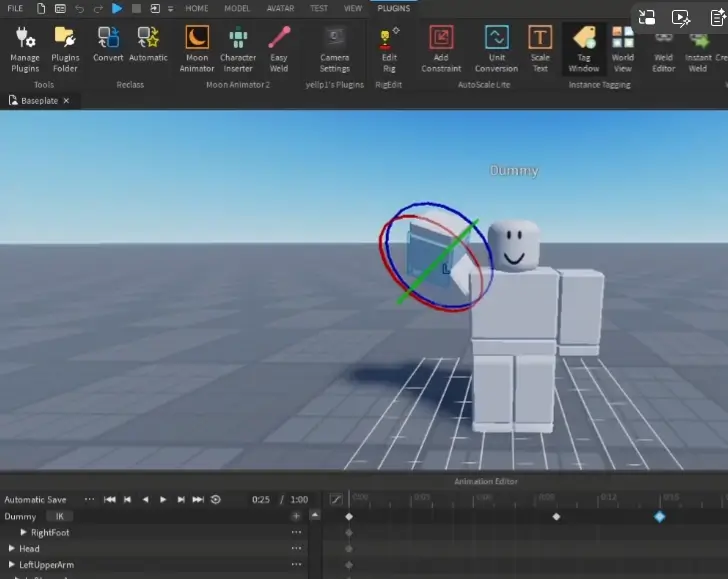
- Frame 0:00: Timeline at start > Right-click Dummy track > Add Keyframe Here (pose T-pose baseline).
- Frame 0:15: Drag to 0:15.
- Select Dummy’s RightUpperArm (or drag in viewport).
- R (Rotate mode) > Drag circles/arrows to raise arm (shoulder/elbow follow via joints).
- Snap to Grid (Avatar tab): Enable Rotate/Move + set increments (e.g., 15°) for precision.
- Add Swings:
- Frame 0:30: Rotate elbow right.
- Frame 0:45: Rotate left.
- Select both keyframes (Ctrl+click) > Ctrl+C > Paste later (Ctrl+V) for loops.
- Preview: Spacebar. Tweak positions/drags for timing.
Common Pitfall: Forgetting Frame 0 keyframe—resets to defaults!
| Shortcut | Action |
|---|---|
| R | Rotate mode |
| Space | Play/Pause |
| Delete | Remove selected keyframes |
| Ctrl+G | Group to Model (post-animation) |
| F2 | Rename tracks |
Step 5: Polish – Loop & Priority
- Loop: Toggle 🔄 for previews (e.g., NPC greeter). Override in scripts:
track.Looped = true. - Priority: Click … (left-top) > Set Animation Priority. Level Use Case Overrides Core Lowest (background) None Idle Standing Core Movement Walk/Run Idle/Core Action (default) Jumps/Waves All below Action2/3/4 High (attacks) Lower Actions Action suits waves—overrides idle but yields to jumps. Script override:
track.Priority = Enum.AnimationPriority.Action.
Step 6: Save, Export & Get Your Animation ID
- … > Save (local to Dummy > AnimSaves). Save As for versions.
- Publish to Roblox: Fills name/description > Submit (moderated).
- Overwrite existing for updates.
- Copy ID (green success) or:
- Creator Dashboard > Animations.
- Toolbox > Inventory > My Animations.
- Import Back: Import > From Roblox > Paste ID.
2026 Tip: Use Animation Clip Editor (beta) for external reimports (Blender > Studio).
Next Steps: Play It in Scripts!
Load via Humanoid:LoadAnimation(Animation.new("rbxassetid://ID")):Play(). Check our scripting guide next!
Practice: Wave > Dance > Idle swap. Resources: Official Animation Editor Docs, Priority Enum. DevForum for Moon Animator tips. Start animating—your characters await!